DIY eurorack drums with a Teensy
Recently I wanted to add some drums to my systems, specifically taking advantage of the gate outputs of the Quad Comparator to sequence some beats. I had a Teensy 3.6 and knew there was some example code that uses it to play drum samples triggered by a push button. The beauty of modular is that we can replace a button push or knob turn with control voltage, and doing so with the Teensy turned out to be pretty straightforward.

The official Teensy audio examples use tactile buttons to trigger events, and in the “sample player” example it sets the Teensy inputs to a “high” (in this case 3.3V) voltage level using an internal pull up resistor, and when the button is pressed that voltage goes “low” (GND or 0V). I’ve included an image of the main loop below where you can see “fallingEdge” being used to determine when a sample should be played. In the case of the “button0.fallingEdge()” that I highlighted, that means when the Teensy sees button0’s pin go from high to low “button0.fallingEdge()” will be TRUE and it will play “AudioSampleSnare”.

In a modular system we can use triggers or gates to create the same edge that would result from a button press. To do this I used an NPN transistor, which is a component that can be used like a voltage controlled switch. This will allow us to keep the signal to the Teensy at a value that is safe for it, and require no change to the code, since we can easily convert the rising edge of a gate to the falling edge expected by the code.
To swap the buttons out (and make for as little coding as possible) we want a circuit that pulls inputs to ground when gate is active. We can set an NPN transistor up so that 3.3V is at the collector and GND is at the emitter, so when the transistor is in saturation mode (acting like a short circuit) the Teensy pin will be pulled from 3.3V to GND (0V) making a “fallingEdge” that our code will recognize and do something with (trigger drum sound). Schematic for one gate to Teensy conversion is shown below.

What I was reminded of through internet searching/double-checking/self-doubting (ultimately from this ModWiggler thread) is that in addition to a simple transistor switch circuit I should also be careful about reverse voltage between the base and emitter of the transistor. This can destroy a transistor and a simple safety measure is to place a diode between the emitter and base (as seen in image above).
Now there are some way fancier ways to do this, but I was (and often am) looking for a quick way to get an idea up and running, and it doesn’t get much more straightforward than this. A more detailed explanation with modular example is in the works, but for now there’s this IG video and this TikTok. Feel free to comment any questions or ideas, but please be kind.
The oscilloscope that everyone asked me about at Knobcon
So, a lot of people asked about the little oscilloscope that is in the 84hp Wave Station (see video in the previous post). While there will likely be a day where we develop a visualization tool of our own, this is not something that we made. Many educators really want to have a scope of some kind, and we found the cheapest, easiest way to get one in the system was to use this JYETech mini oscilloscope. You can find them as a kit or fully assembled for pretty cheap. We modified it to be powered by a Eurorack power bus, and swapped the BNC input for a 3.5mm jack.
Waveform magazine has done a similar modification that is a great option if you don’t want to dig in so deep (or if you are still building up your soldering/circuit modding skills). The point to be made here is that we are not responsible for you destroying your mini-scope (we have destroyed one ourselves in the process), but provide this information if it might make the job easier for folks who feel comfortable with this sort of thing. Below you will find some basic information and accompanying images, as well as a link to a file you can use to laser cut a front panel.
There are buttons that we haven’t bothered to pull up to the panel. We feel it’s just as easy to poke through, and generally this is a peripheral module that is not meant to be a major focus of the Wave Station (yet here we are). Again, Waveform’s DIY kit is a better option if you want the panel buttons. Feel free to comment with any questions and we’ll try to help as much as we can.

Le scope

Power connector. Shifted so red stripe hits ground pins and power comes from 5V. I use the excess clipped wiring elsewhere in the workshop.

5V goes to Vin and Ground goes to GND. Audio wiring to where the BNC would normally go should be pretty straight-forward if you’ve made it this far.
The easiest way to provide a download seems to be adding it to the shop. So it’s a little convoluted but free to download nonetheless.
DIY Eurorack Case
People often compliment the wooden cases that I house the STEM Modular system in, so here’s how to make your own pretty easily. There are other methods out there, but I think this is pretty simple yet also involves a healthy amount of commitment.

60HP box
Backstory
STEM Modular, in addition to being a connection between STEM and electronic music, is also my way of making an affordable eurorack system for myself. I have experienced with a number of ways to add frugality to my modular pursuits, and creating cases was one of the most gratifying, albeit physical labor intensive.
I have made a number of different eurorack cases myself, starting with repurposed old suitcases and moving on to laser cut bamboo. I started with some very long vector rails, threaded inserts (later went with little square nuts), a hacksaw, a metal file, and some bolts from the hardware store. That was probably way more work than I needed to do, but it got the job done.

My first bamboo case. 84HP and a bit deeper than necessary.
Considerations
First off, the cases are laser cut bamboo. There are a number of places online to outsource lasering of a wide variety of materials, or you can do it yourself if you have access to a laser (I don’t own a laser, and having rented time on one at a local makerspace I found it more efficient to outsource the lasering). The size of your box will be restricted by the source material you use, which is likely restricted by the size of laser cutting machine, but with eurorack being so compact it's not a big issue. I have made an 84HP box, but found it more cost effective to make some 60HP boxes (I can fit 2 boxes on one sheet of bamboo) You’ll figure out what works best for you.
Specs
All the specs for eurorack construction can be found on the Doepfer website (particularly this page). This is the information I used to determine the inside dimensions of the box. The height is 3U or 133.4mm and the length is dependent on how many HP you want.
Box "design"
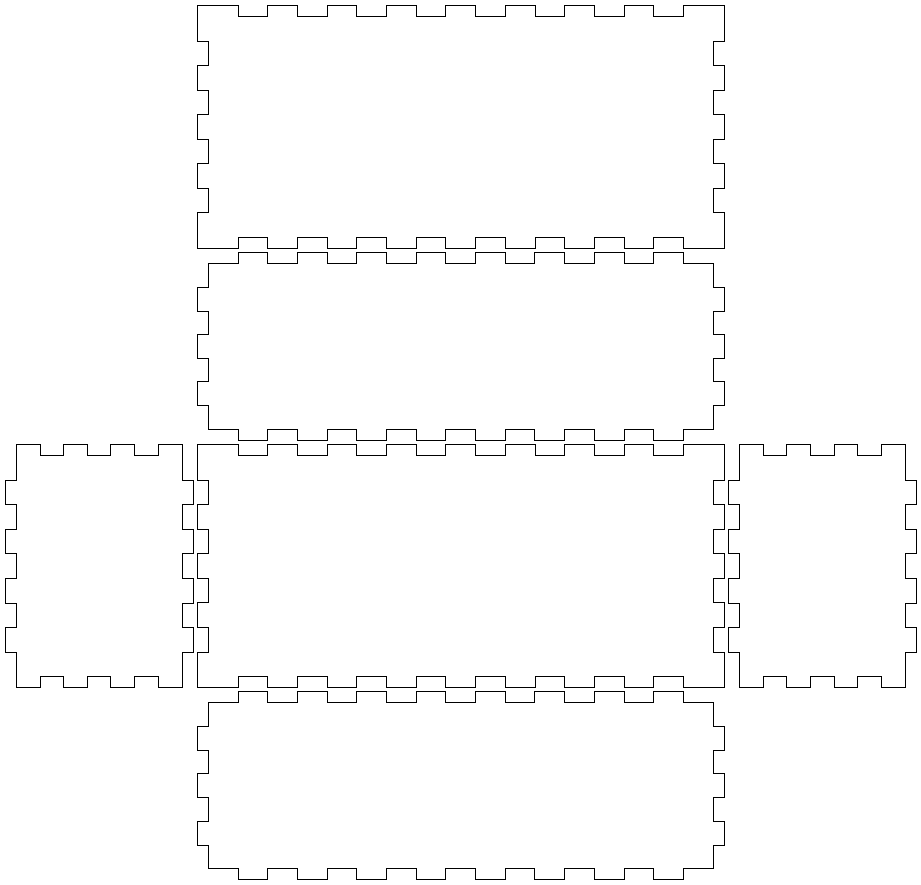
I found a few websites that will automatically generate a box PDF given desired dimensions, and eventually settled on https://makeabox.io/. This particular website asks for internal dimensions and material thickness and generates an image with lines for an enclosed box. Of course we don't want an enclosed box, so I imported my file into Illustrator and edited lines so that one edge of the box is flat and open (see before and after image below).

Depending on the laser you are using you will have to determine what thickness the cutting lines in your image will need to be (for me it was 0.001mm) and if there is any line color requirement (I have used a setup that required blue lines and another that required black).
Rail installation
Now that you have the box you need to get rails into it. I think there is probably already some info about this out there, as DIY cases are not a new thing, but here’s my take anyway. The metal used to make vector rails is actually pretty soft, so if you prefer to sweat in order to save a few bucks you can totally get long rails and cut them to length with a hacksaw. Vector rails can be sourced from a number of different places though, and if you search for “custom length eurorack rails” in a search engine or Etsy you can order the length that fits for you (I really don’t recommend the hacksaw method, but it’s an economical option if you are planning to make a few cases). Eurorack case brackets are the other piece of the puzzle, and will make installing the rails into your box much easier (just make sure you account for their thickness because the inside of your box might need to be slightly wider than your desired HP).
Conclusion
There is a little math involved here, but for the most part it is straightforward (remember: “measure twice, cut once”). In the future I am planning to design around the need for brackets and include holes for mounting vector rails into the laser design of the box, and I will post photos when that happens. Finally, if all of this seems like too much to do but you want a box, you can order “puzzle pieces” or a finished box here (only 60HP available at this time).